
How to setup shape cut stickers
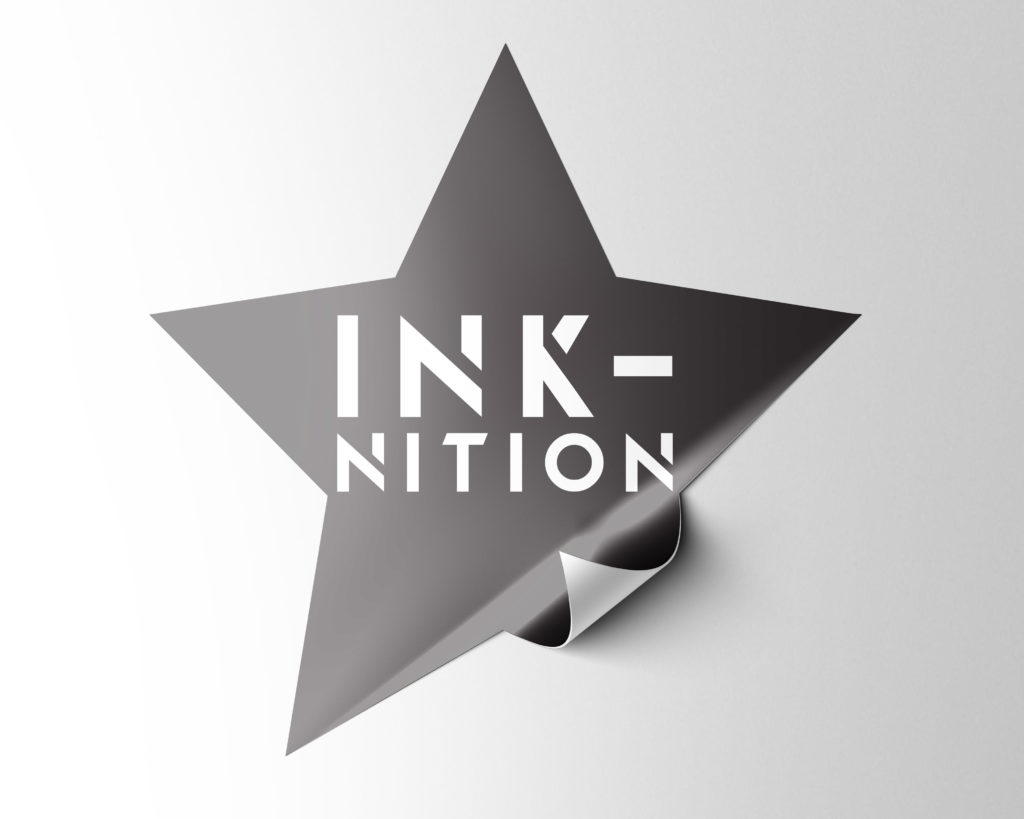
Printed stickers can be cut to any shape you like to provide bigger impact and to further assist with a marketing idea, and all you need is Adobe Indesign or Illustrator.
Custom printed and cut stickers are perfect for packaging and other merchandise because they give a lot of unique benefits. They allow you to customise the designs so they'll fit your product better, and because there are no design constraints, you can create different designs for the same product in just one go.
Order your custom printed and cut stickers today by visting our sticker page or contact us for a quote by completing the get a custom quote form or by emailing info@inknition.com.au
Dont forget, we also produce a wide range of business stationery, flyers & booklets, stickers and signage and provide instant, upfront pricing for most items. Find out more by visiting our about page.
Follow this step by step guide on how to setup shape cut stickers:
Time Needed: 30 minutes
Total Cost: AUD1
Resources needed:
Your logo, fonts, styleguide
The image you wish to cut out
Things needed?
Adobe creative cloud subscription
General graphic design layout knowledge
A computer
Adobe illustrator or indesign installed
Instructions:
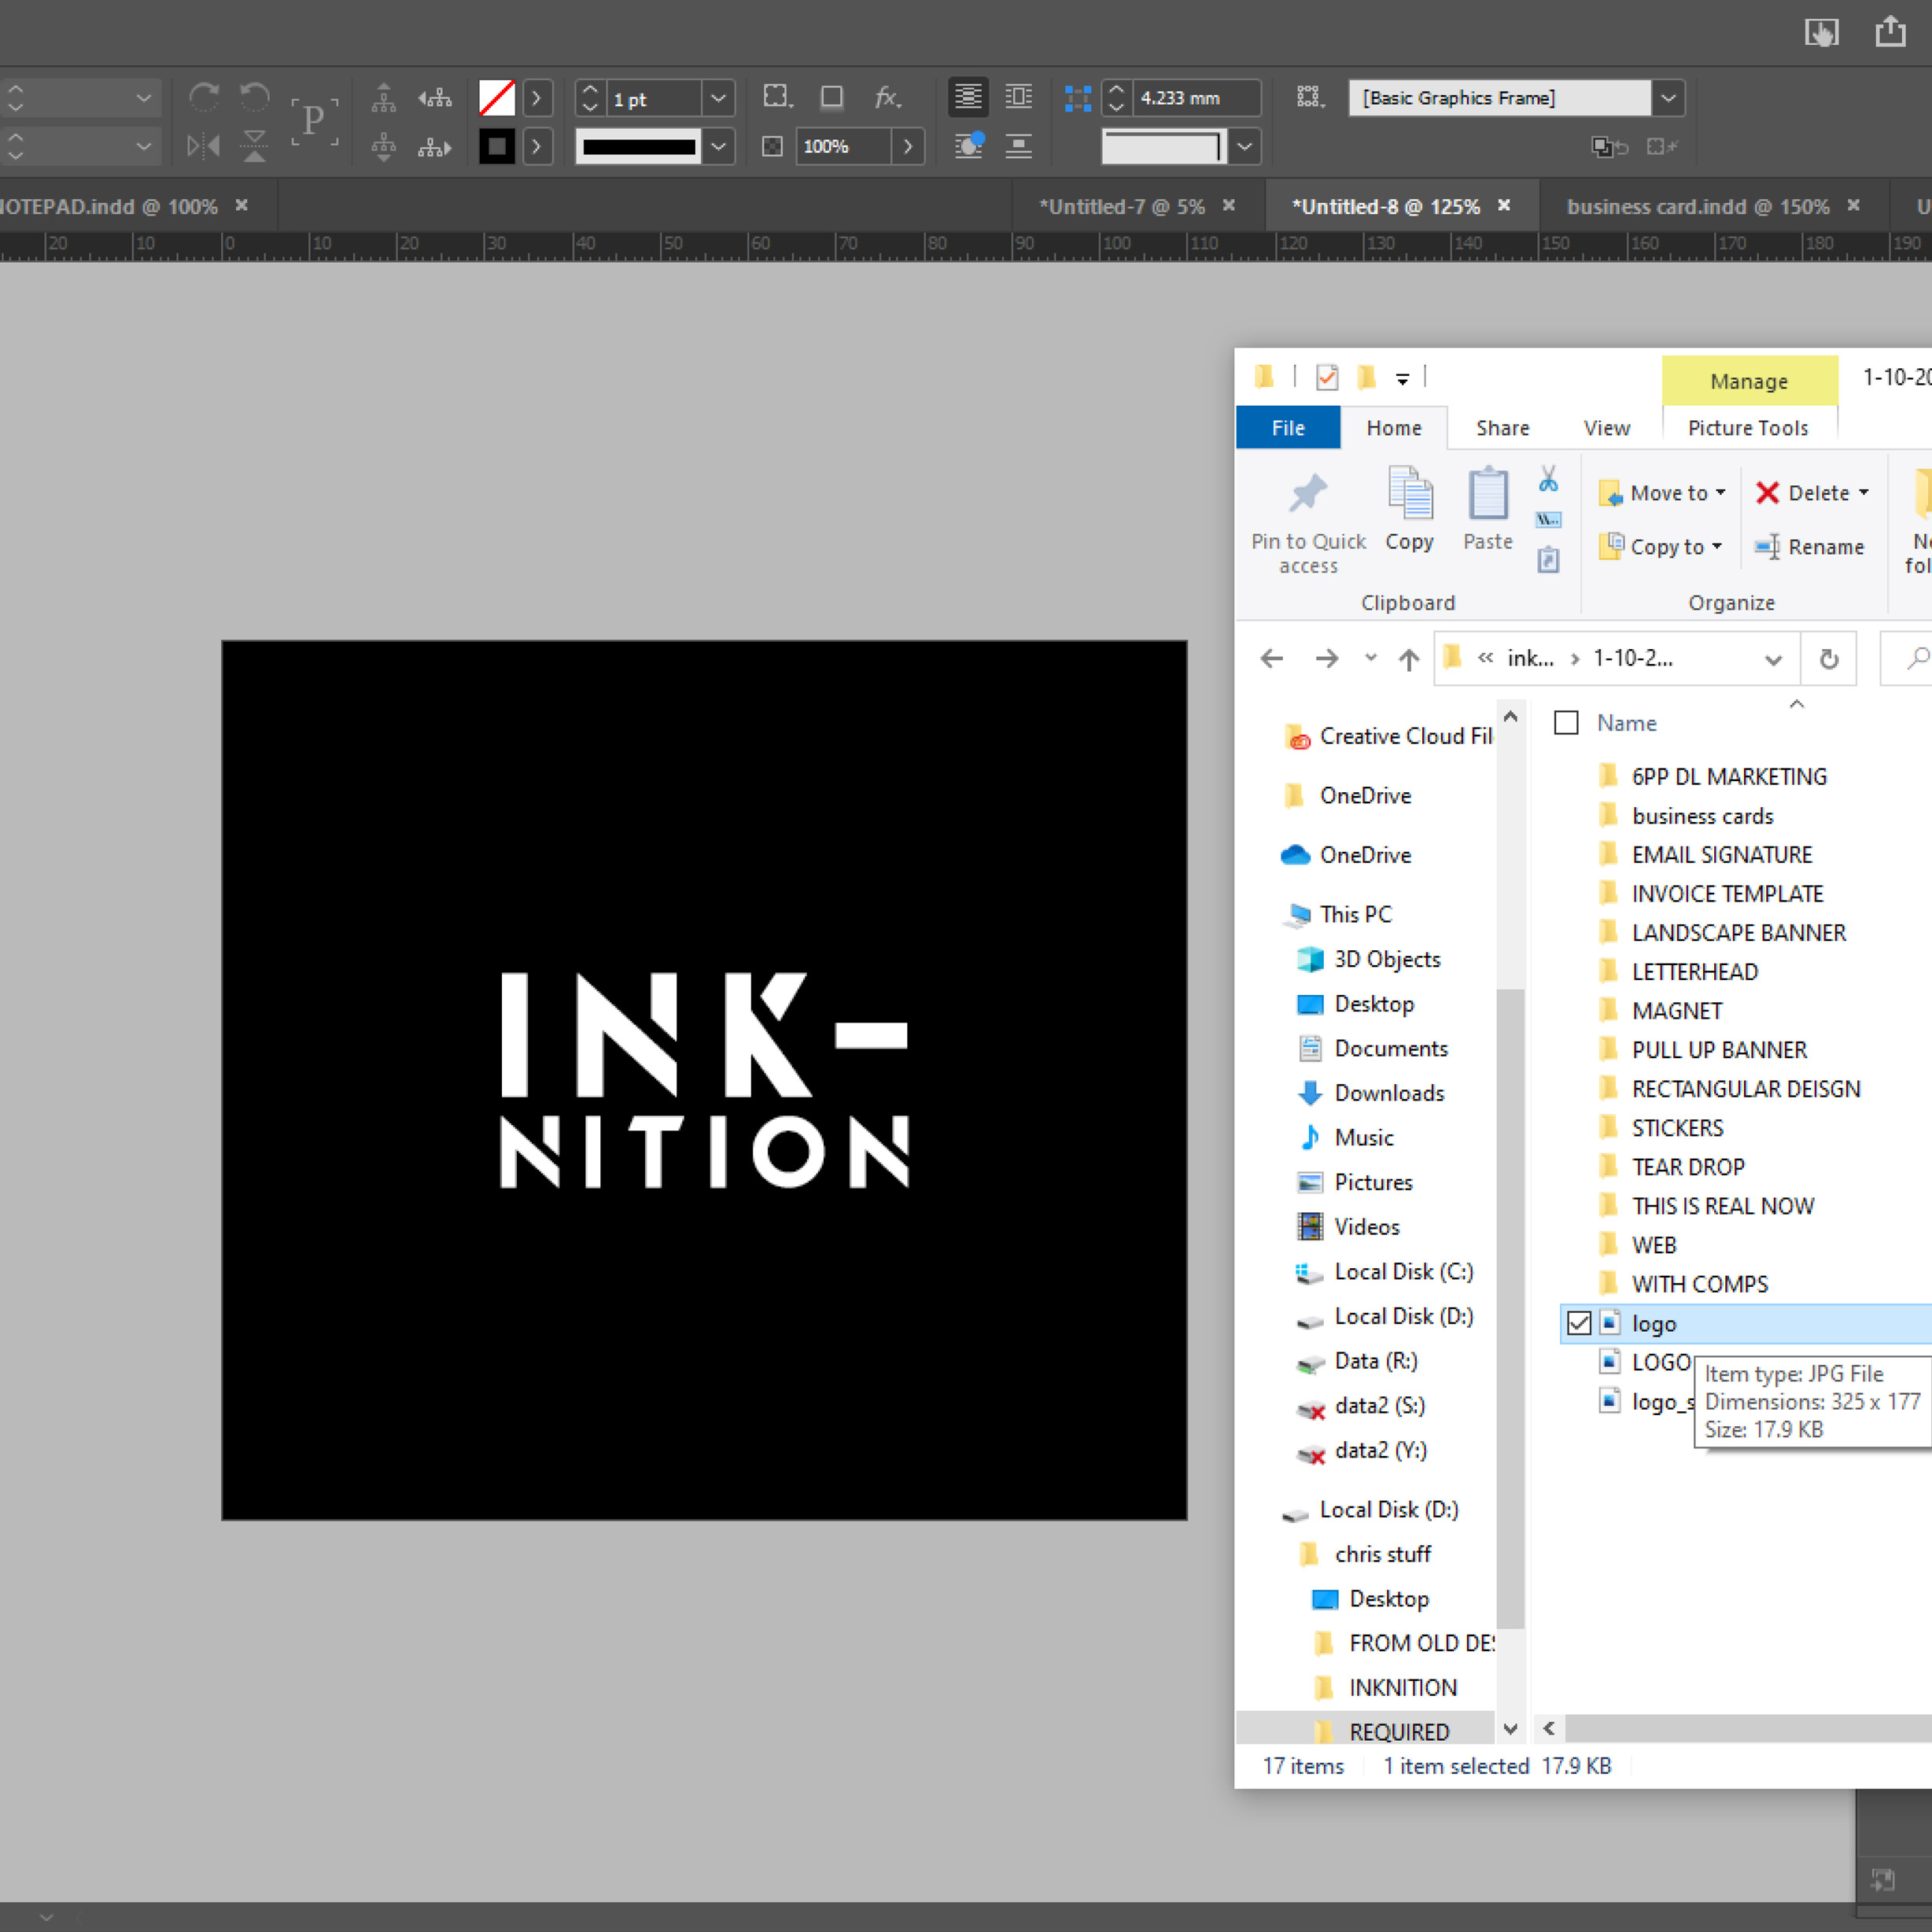
1. Open and setup page in illustrator or indesign
- Open a pasteboard the size you want your sticker, but make it 6mm wider and 6mm higher than what is needs to be to factor in 3mm of bleed on each edge of the design
- Drag and drop your base artwork onto the pasteboard
- Or, if not yet designed, drag the components (logo etc...) onto pasteboard to construct the design
2. Drawing cut path around object
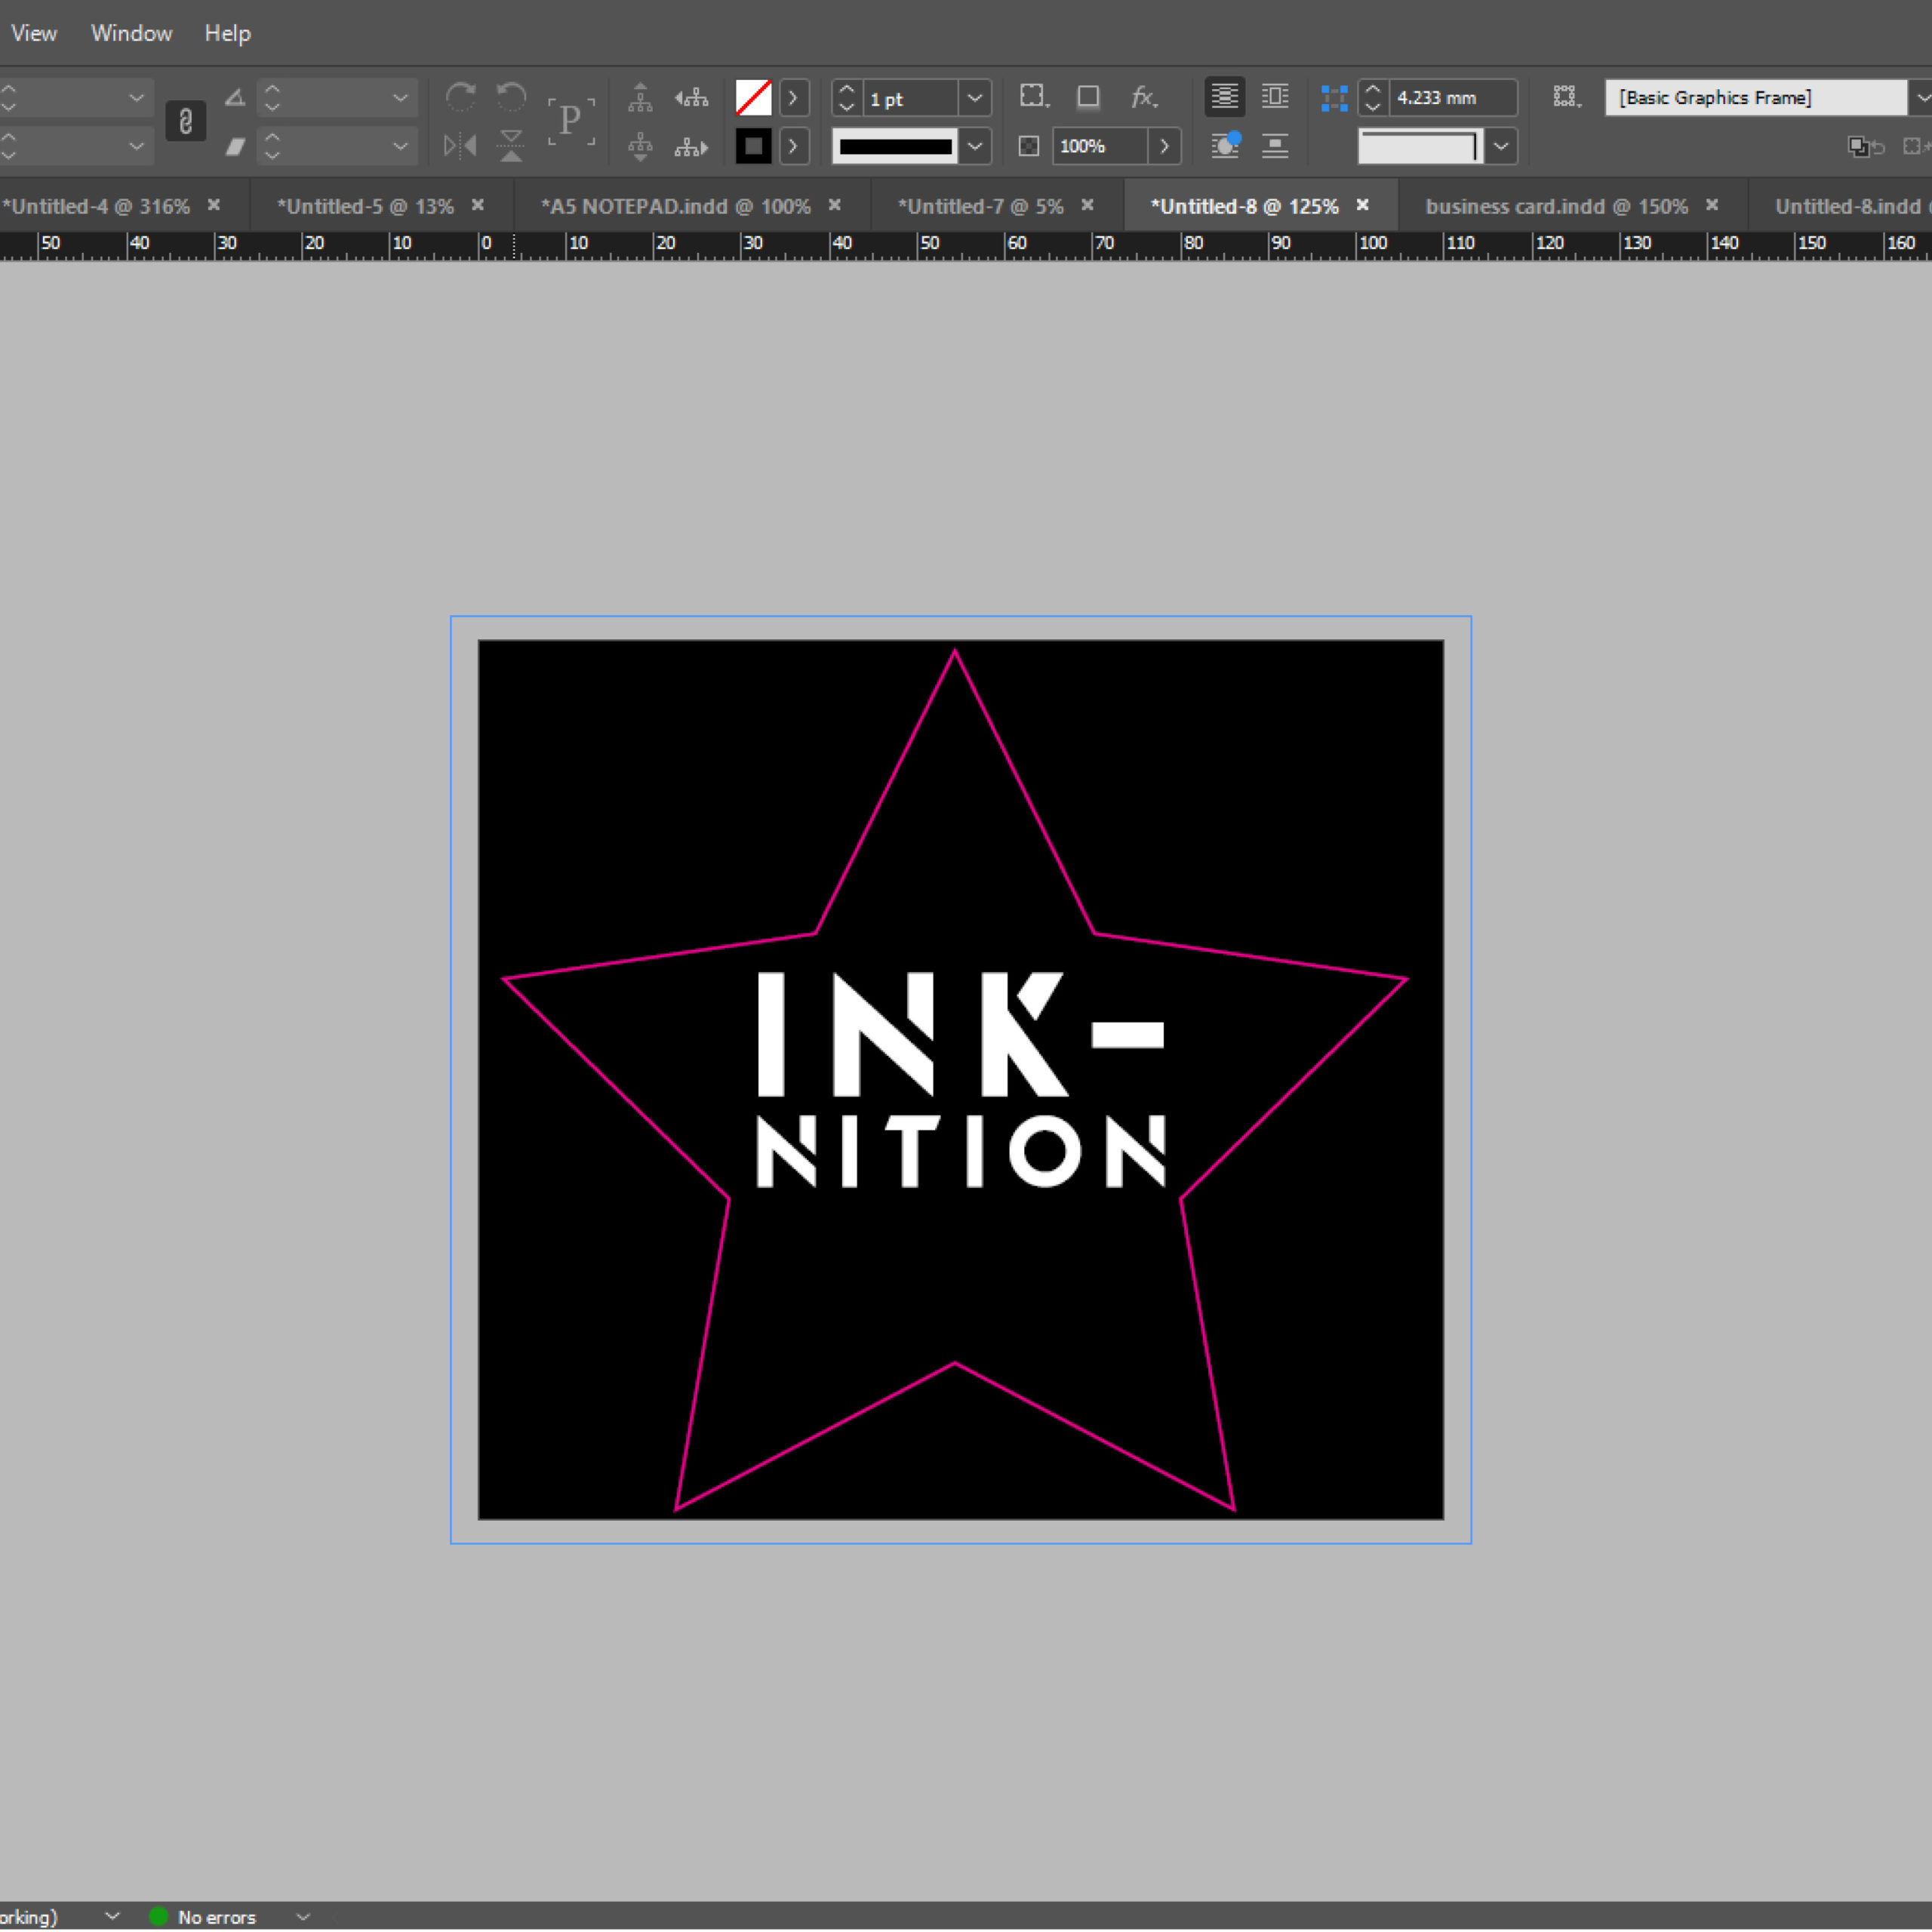
- The ultimate aim for setting up cut out artwork is to create a cut path around the object you wish to cut out. The cutting machine will find this cut path and cut to this shape
- For vector artwork or text, you will be able to place a cut path automatically around the object by selecting the object then going to object> path> offset path> then change the offset amount to create a replica outline of the selected object
- For somthing as simple as a star shape, there is a star shape tool built into indesign/illustrator that will give you your outline simply by selecting the star tool and drawing with it
3. Settings for the cut path
- Now that you have an outline around your object, if not already, make the stroke thickness 1pt
- Cut and paste this outline onto its own layer
- With just this outline stroke selected, go to window> swatches
- Click on hamburger drop down icon> new swatch
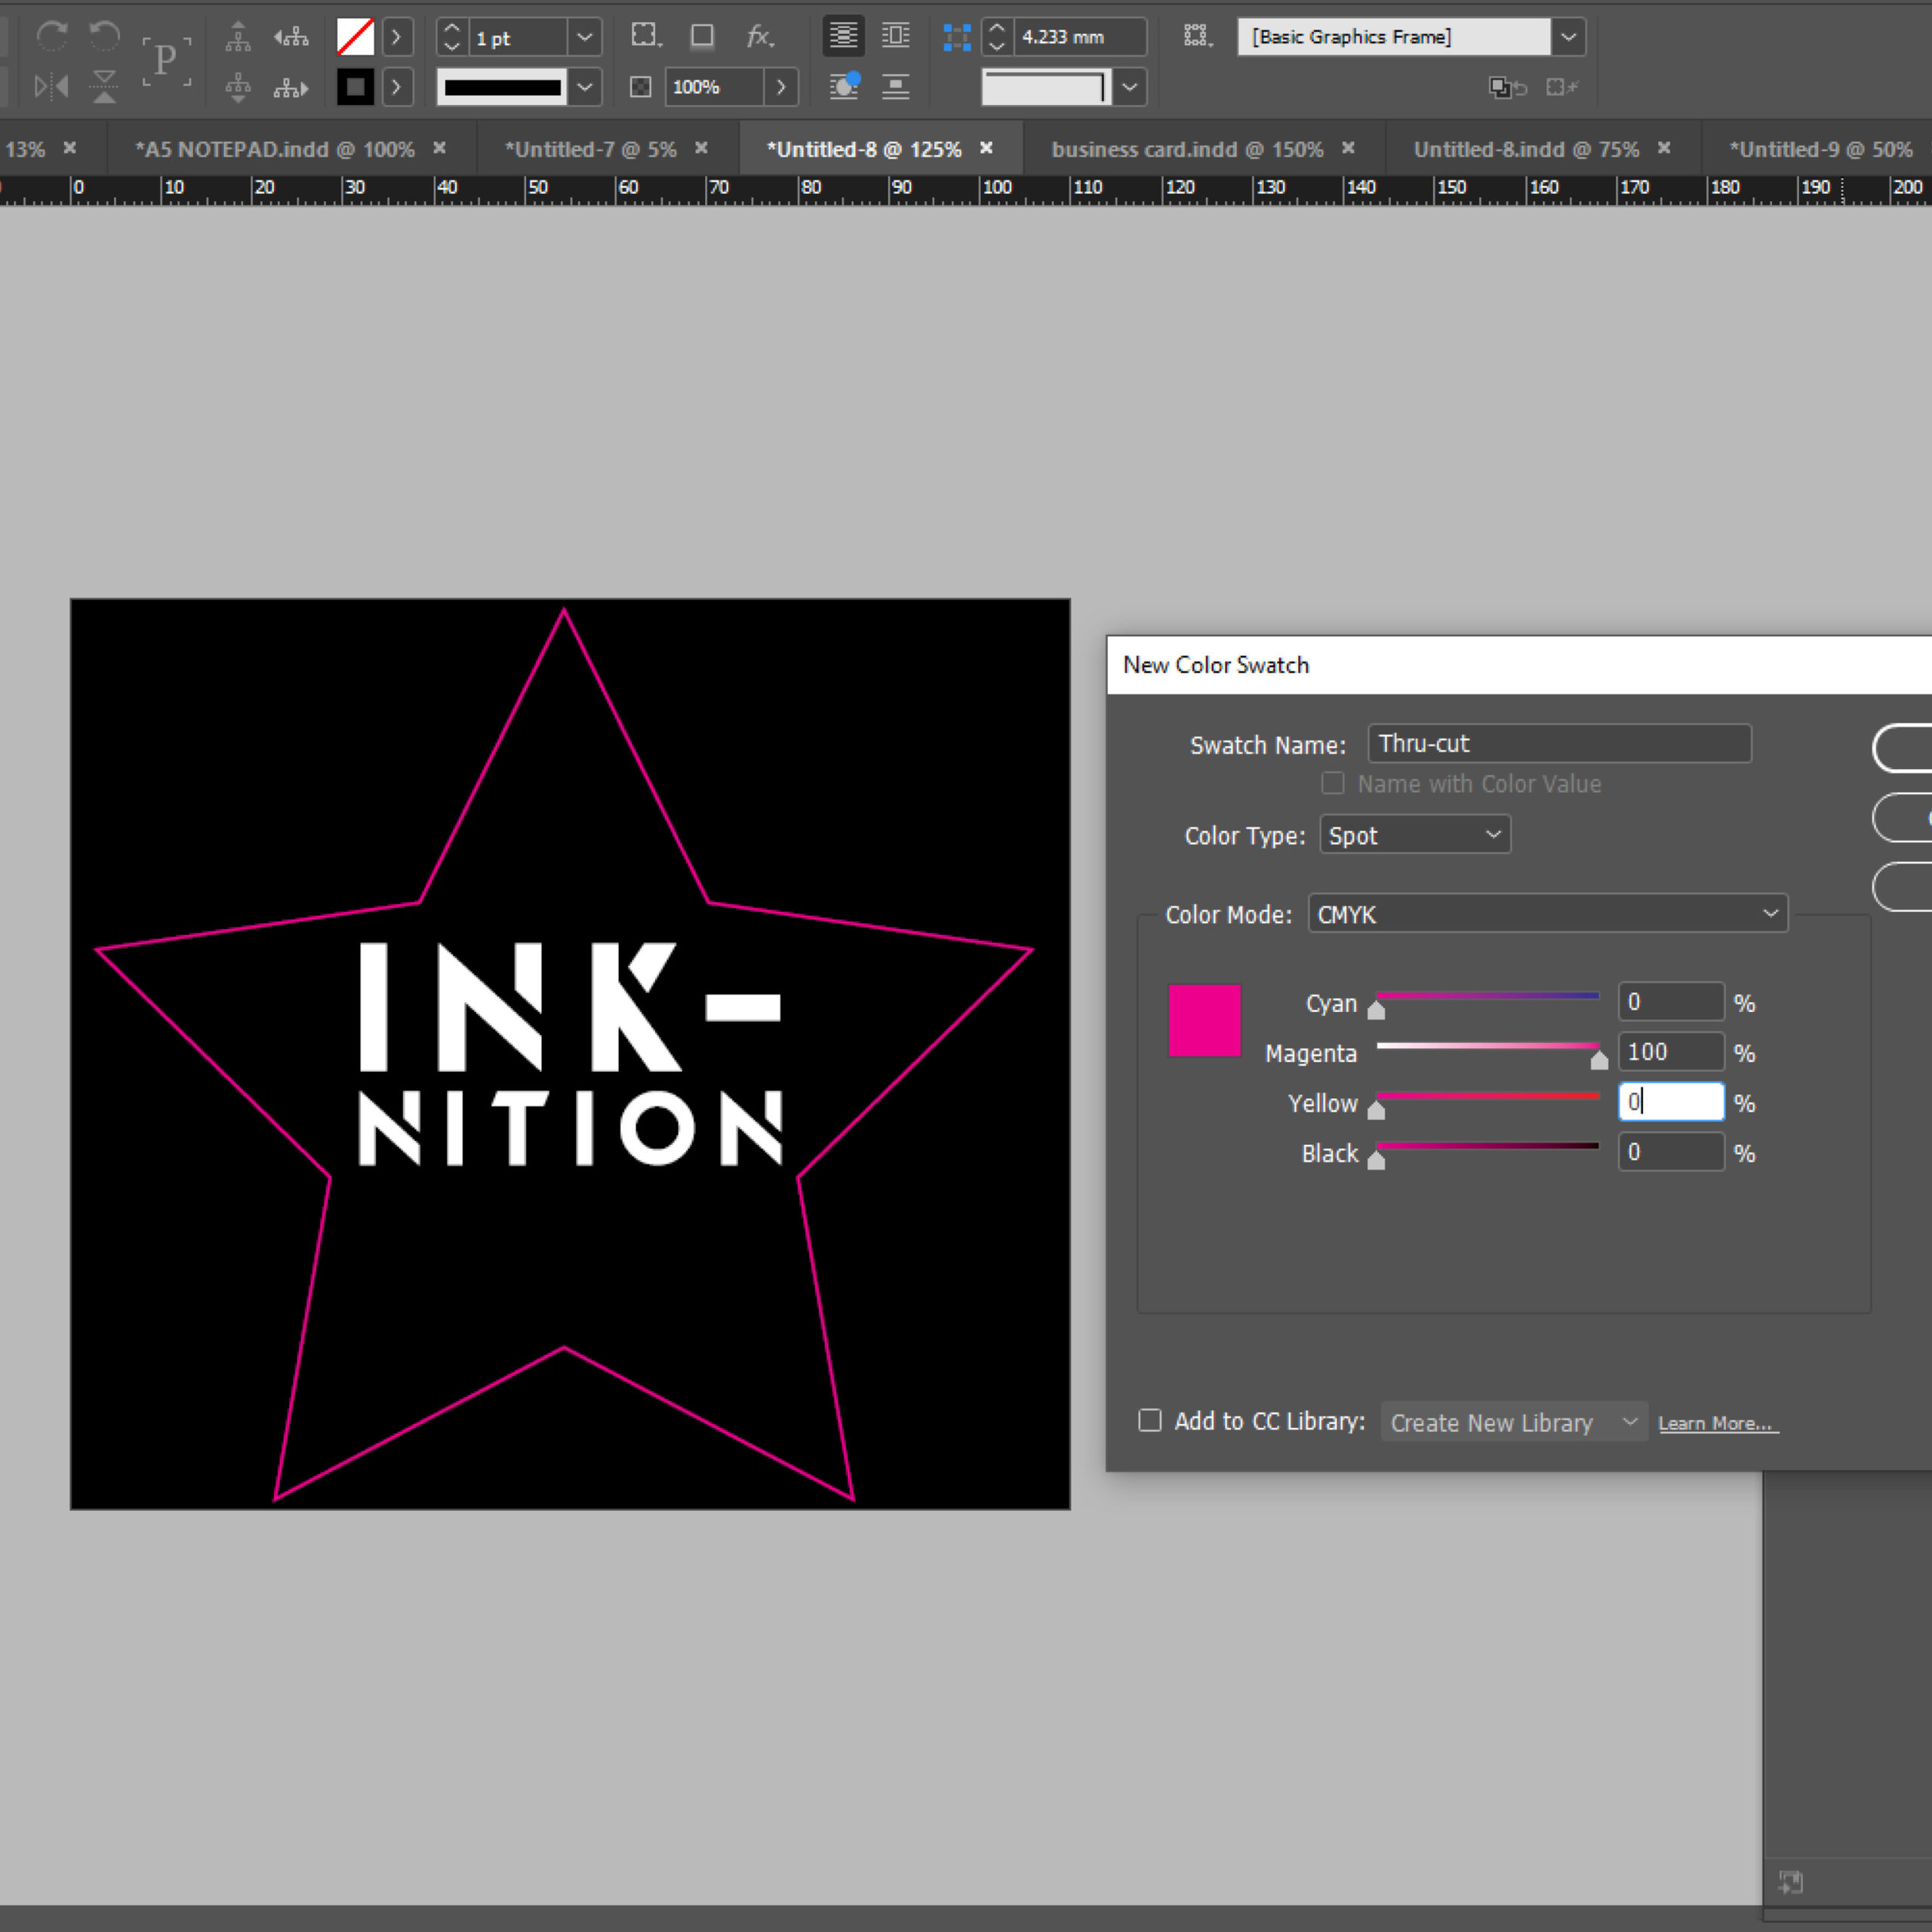
- In swatch window, rename colour to "Thru-cut" change colour type to spot colour, change colour mode to CMYK, and adjust CMYK values to 100% magenta only
4. Save file as PDF
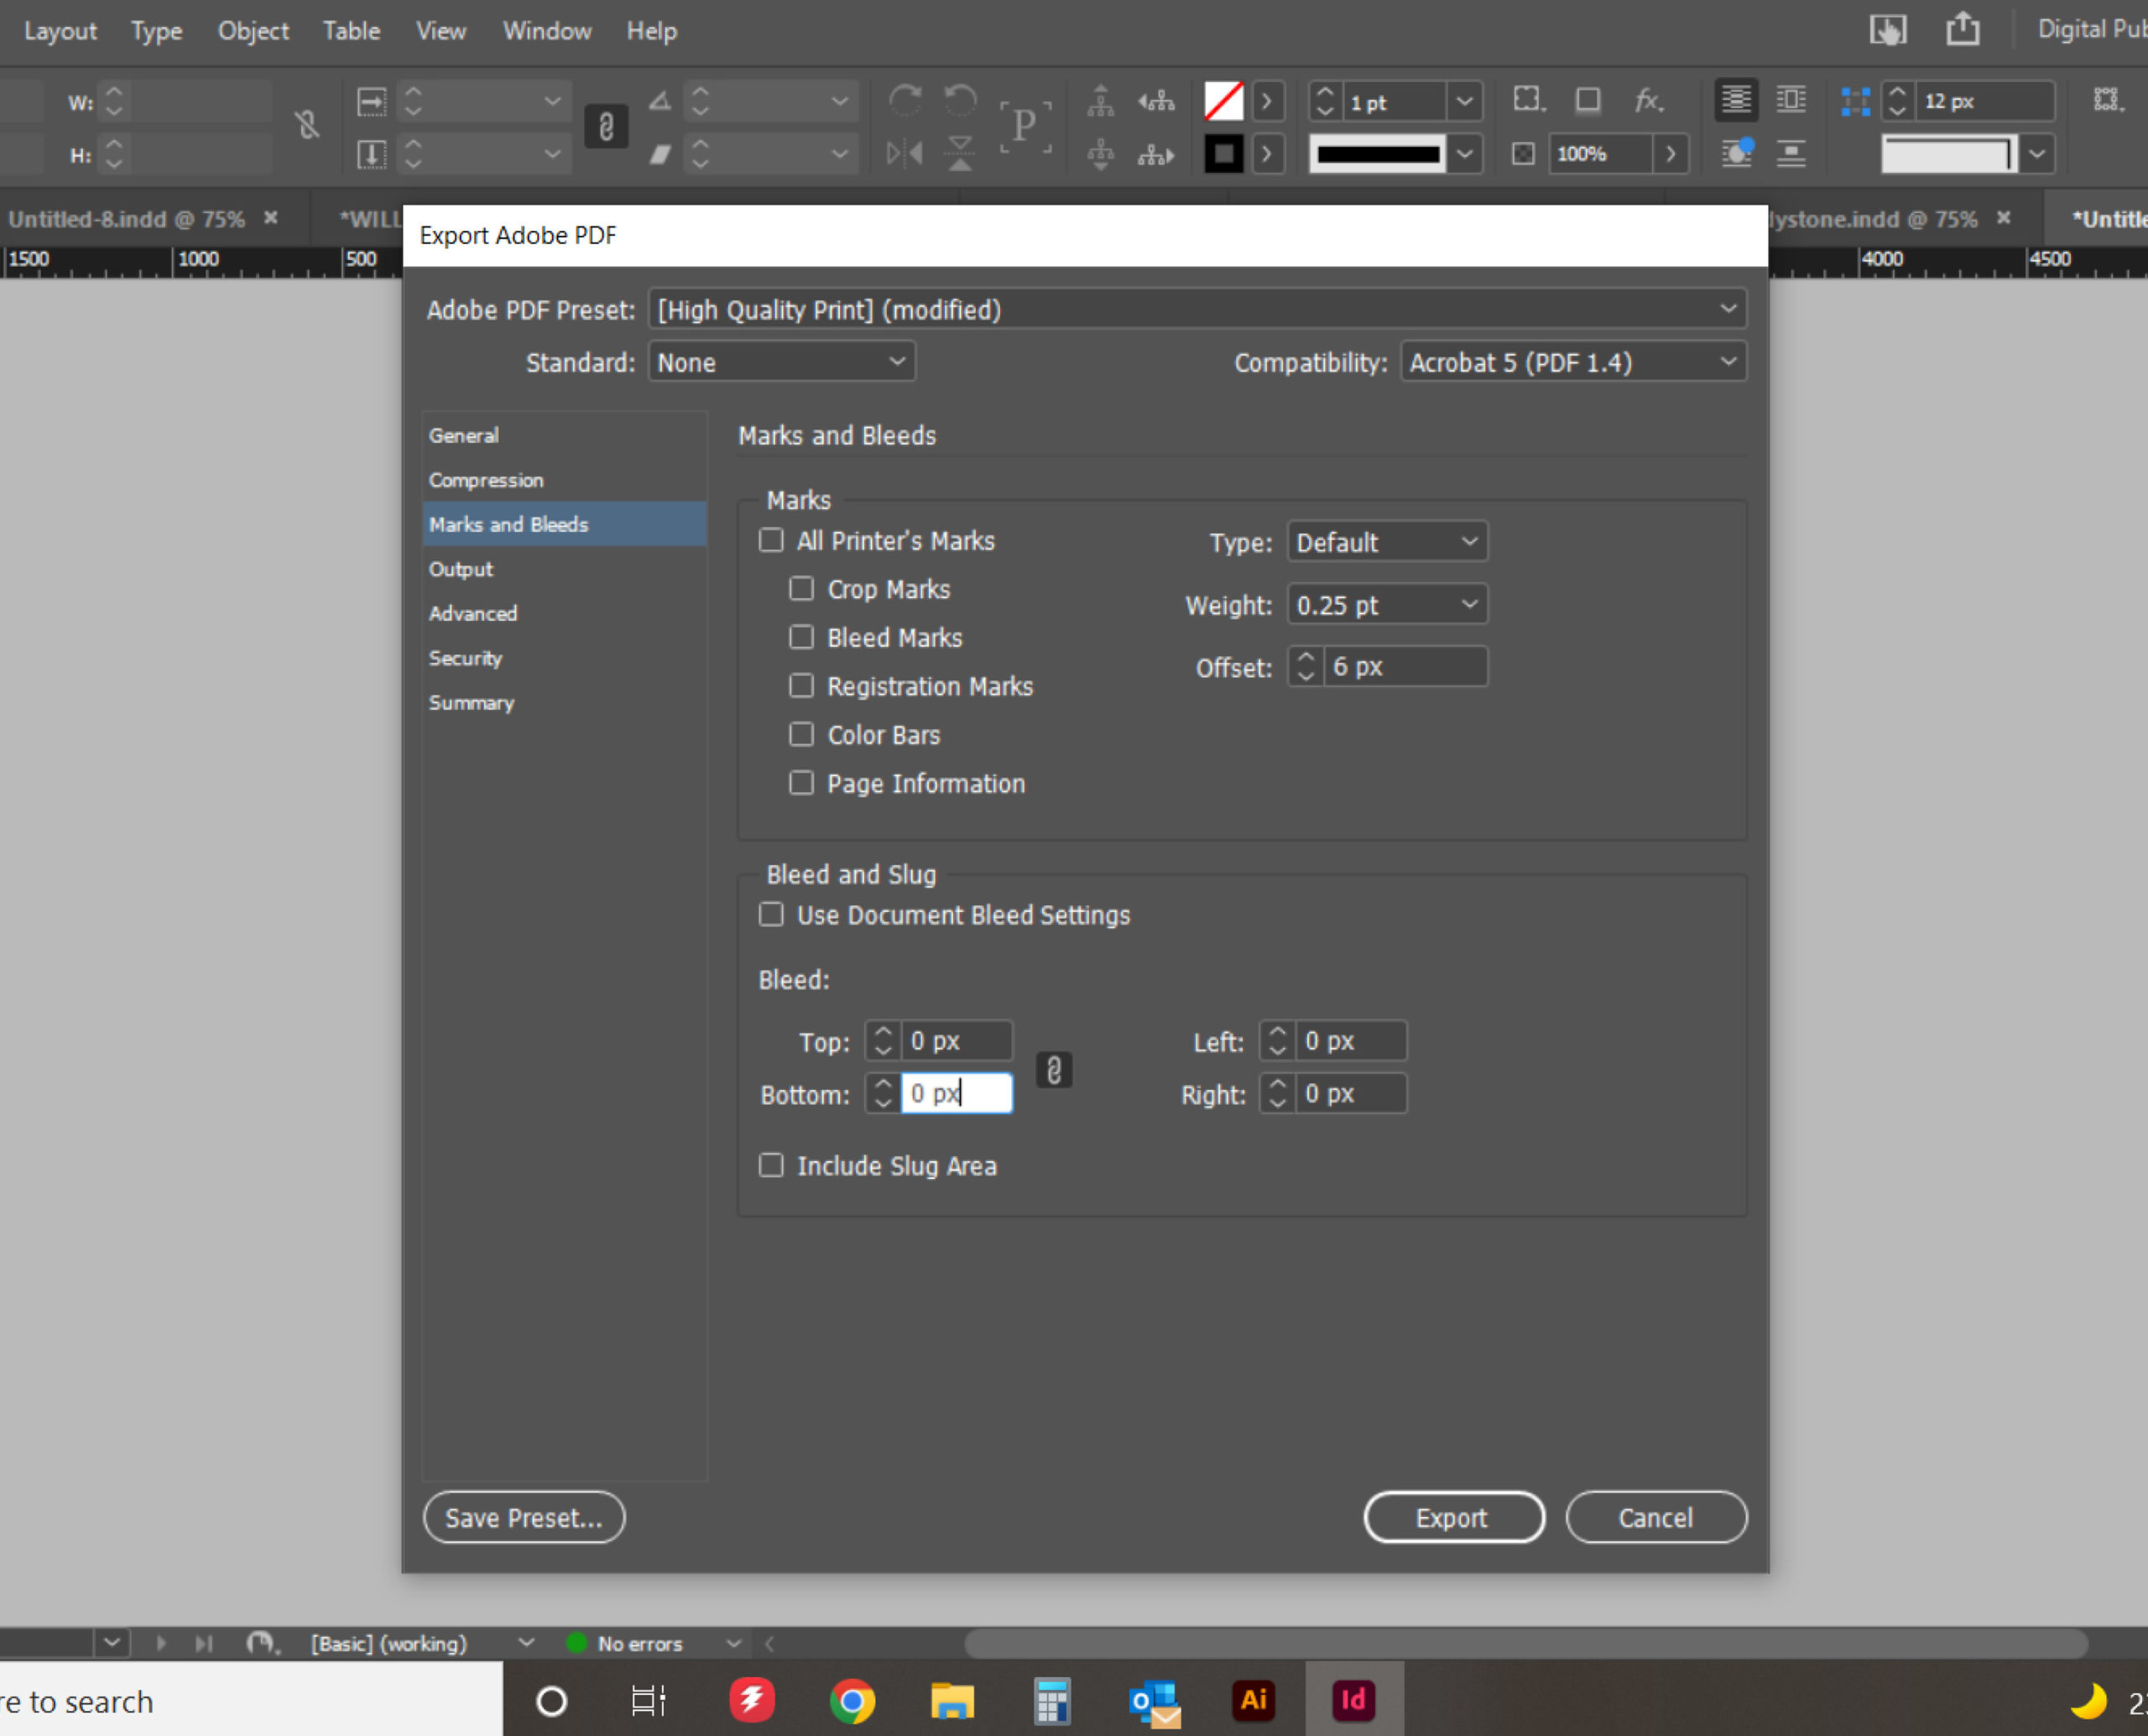
- With both the object layer and the cut path layer turned on, file> save a copy> select PDF from drop down
- Give the PDF a name
- No bleed or crop marks are require for cut out object as this has all been accounted for when the cut path was created in the document
- Your file is now ready to be printed and cut out around the cut path
- Congratulations! You have successfully used our how to setup shape cut stickers "how to guide"
